
No products
Product successfully added to your shopping cart
There are 0 items in your cart. There is 1 item in your cart.


This is another really simple origami project using our pre-printed Santa sheets.
It's essential that the Santa sheet is printed onto 100-120gsm paper or the red colour will show through and spoil the whiteness of the beard and trim.
For this one print:-
- The origami Santa sheet onto quality white 100-120gsm paper then TURN IT OVER and print the plain red Santa backing onto the back of the paper.
- One of the background sheets onto medium weight paper/card such as Print Perfect 160.
To make the card:-
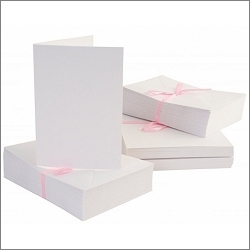
Stick one of the backgrounds onto a white card blank with double-sided tape. If you want to add a metallic card border, cut out one of the backgrounds without the border, stick the piece to metallic card and trim round with a craft knife and ruler before sticking it to the background with the border.
To fold the origami Santa:-
1. Cut out one of the Santas using a sharp craft knife and ruler.

2. Fold diagonally and then.....

3. .... unfold.

4. Fold down the top point to touch the dot in the centre of the piece and crease well.

5. Fold the point back to touch the top fold, creasing well.

6. Unfolding briefly, fold the top point to touch the crease you've just made.

7. Tuck the top point over to meet the previous crease.

8. Then fold above the eyes - this forms the fur trim on Santa's hat.

9. Now fold the bottom point up to touch the crease at the top of the piece. Crease well.

10. Then fold the point down to touch the bottom fold - this reveals Santa's face and forms his beard.

11. Fold both sides down approximately 6mm - to meet the guidelines on the other side of the paper.

12. Fold the piece lightly to find a centre-point, then fold both sides into the centre - crease well as you go.

13. Now fold in one side on the guideline provided.

14. Then fold back, again on the guideline provided.

15. Repeat steps 13-14 on the right-hand side.

16. When you turn over your Santa it should look like this. Crease it all down really well and use pieces of double-sided tape to stick the arms to the body.

To finish the card:-
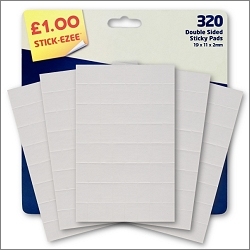
Stick the Santa to your card with sticky pads or double-sided tape. Add a white or sparkly white pom-pom to the card at the tip of the hat with a strong tacky glue such as Aleene's.
Add a greeting if required.
Products used on the Origami Santa card
 £14.99
