No products
Product successfully added to your shopping cart
There are 0 items in your cart. There is 1 item in your cart.
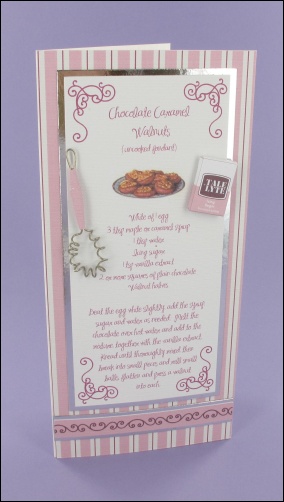
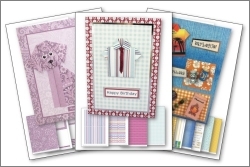
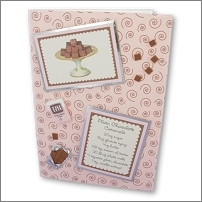
Cute little whisk on this one - really easy to make.
For this one print:-
The pink striped background onto white linen card
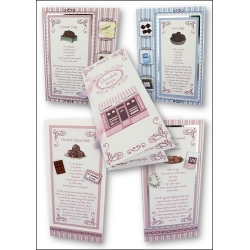
The Chocolate Caramel Walnuts recipe onto white linen card
Either the Peppermint Creams card or Chocolate fudge card onto linen card (for the borders)
The Chocolate Extras sheet onto white paper (printer paper will do)
The Chocolate Extras sheet can downloaded for free by clicking here. Click on the link to open the image in Adobe Acrobat reader - if you need it you can download it for free by clicking on the button below.
Cut out a piece of the striped background to the same size as a DL card blank and stick it with double-sided tape.
Cut out one of the Chocolate caramel walnut recipe cards without the border. Stick it to a larger piece of silver metallic card, trim to leave a small border, then stick to the card blank with double-sided tape. Add a border strip which has also been mounted onto silver metallic card.
To make the whisk, carefully cut out the long pink triangle from the Chocolate extras sheet, making sure that you trim off all the white paper. Roll it tightly and evenly around a cocktail stick, starting with the large end. Fix the end with a weeny bit of double-sided tape. This is your whisk handle.
The looped handle and whisk-end are made using separate bits of 20-gauge craft wire. The handle is just a short length of wire bent over and squeezed together with pliers. The whisk end is made by winding wire evenly around a cocktail stick, then bend the coil around and squeeze the end together with pliers. Both pieces are not fixed as such - just push them into the paper handle and the tension of the wire holds them in place.
Stick the whisk to the card blank with Aleene's tacky glue applied to the paper handle only.
For the icing sugar packet, cut this out from the Chocolate extras sheet and pre-crease along the lines so you get nice crisp edges to your finished box. Wrap around a 2.5cm x 17mm 2-layer thick piece of fun foam and stick at the back with double-sided tape.
See all of our recipe card projects on![]()

