No products
Product successfully added to your shopping cart
There are 0 items in your cart. There is 1 item in your cart.
-
-

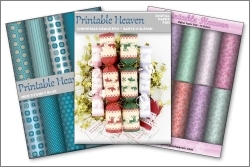
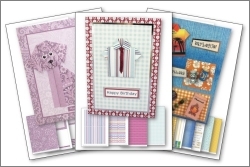
We also have download sets featuring up to 40 A4 sheets, with most sets having projects using the sheets.Download Sets
-


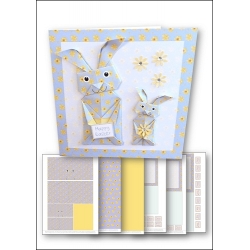
What a pretty card this is for Easter - the cute baby bunny here has a lovely Easter flower for Mummy!
Make both the large and small origami bunnies on the sheet for this card, same instructions, using our step-by-step photos.
For this one print:-
The blue origami bunny sheet onto printer paper (thinner the better!) then turn it over and print
The yellow sheet onto the reverse
The square card blank onto thick white card (or print onto thinner card, cut out the front panel only, and stick it onto the front of a thick square card blank)
To make the bunny heads:-
We've used plain paper here to make it easier to see what's going on.
1. Cut out the head piece from the sheet using a craft knife and ruler. As with all origami projects, extremely accurate cutting and folding is essential!

2. Fold the piece in half, then unfold again.

3. With the eyes nearer the top of the piece of paper as you look (on the back), take the top corner of one side and fold it down to meet the bottom edge, revealing the bunny's mouth. Crease firmly.

4. Repeat on the other side. Make sure that both sides, especially the mouth, meet perfectly. If they don't, re-crease the first side so that they do. The two edges should be touching with no reverse colour showing through.

5. Now turn the piece over with the eyes facing you, long edge at the top, then fold down the top points to meet the bottom one. Crease very firmly.

6. Now turn the piece over so that the mouth is at the top. Fold down the mouth-flap so the top point lines up perfectly with the bottom one. The bunny's eyes should now be revealed.

7. Turn the piece over and emboss the two guidelines on the back using an embossing tool or similar. Emboss the whole width of the paper, beyond where the guideline stops (we couldn't print it to the end as it would show on the finished bunny head).

8. Now fold both points in to meet each other in the middle. Crease all folds very well at this stage. Neaten up the two ears at this stage - if they are overlapping each other at all, re-crease so that they butt up to each other perfectly.

9. Now turn over and emboss the two guidelines on the fronts of the ears.

10. Fold back the ear on the crease line. You should get a nice curve on the top of the ear

11. Repeat for the other ear.

12. Now turn up the bottom point and crease just below the mouth. Fold the back piece of paper inside the bunny head.

13. Finally, fold down the nose so that it meets the top of the mouth.

Use pieces of double-sided tape to stick it all together so that it sits flat. You can make the ears curve more or less depending on where you place the tape when sticking it to your card blank.
To make the bunny bodies:-
1. Cut out the body piece carefully using a craft knife and ruler.

2. Fold the piece in half, crease firmly and then unfold.

3. Now fold the piece longways, crease firmly and then unfold.

4. Fold in each corner, making sure each one meets the other perfectly. Leave these folded.

5. Fold the piece in half on the existing crease so that the top points meet perfectly.

6. Fold the piece in half.

7. Then fold the side into the centre line.

8. Repeat on the other side.

9. Emboss all the lines on the front using an embossing tool or similar.

10. Fold back the arm-parts neatly.

11. Now fold the legs as shown.

12. Turn the piece over and emboss the line on the back of the piece, then fold.

13. Your finished body should look like this.

Use double sided tape to stick the body 'shut'. Slide the head onto the body to complete the bunny.
To make the card:-
Emboss the crease, then cut out the square card blank with a craft knife and ruler. If you prefer, cut out the front panel only and stick it to the front of a sturdy square card blank with double-sided tape.
Stick the bunny bodies and heads to the card with double-sided tape.
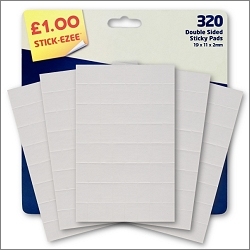
Add the Happy Easter greeting with a large, or several small, sticky pads.
Punch daisies from the yellow paper using a midi 16mm daisy punch. Stick one onto a short (2cm) length of silver craft wire with a dab of tacky glue and allow to dry.
Decorate the centre of this one, and 3 more daisies, with 4mm clear gems.
Apply tacky glue to the back of the wire and the back of the daisy head and add it to the baby bunny.
Add the other daisies with little dabs of tacky glue to complete the card.
Products used on the Origami Easter Bunny Blue
 £1.00
£1.00
