No products
Product successfully added to your shopping cart
There are 0 items in your cart. There is 1 item in your cart.
-
-

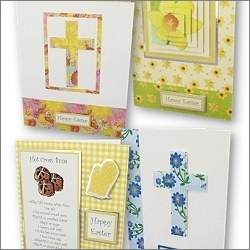
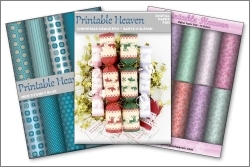
We also have download sets featuring up to 40 A4 sheets, with most sets having projects using the sheets.Download Sets
-


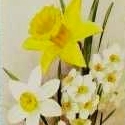


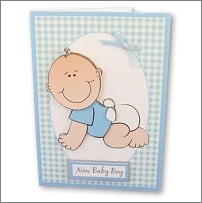


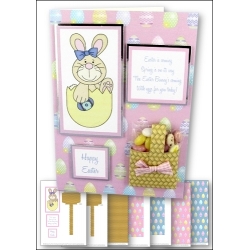
This is a really pretty card that's been made using our Easter Bunny card kit. You can make it in either pink or blue using the same kit.
I've used Print-Perfect card to print onto for this one - 160gsm for the background and 250gsm for the card kit sheet - brilliant results!
For this one print:-
The Easter egg background or A5 panel onto quality white paper
The Easter bunny card kit sheet onto 200-250gsm white card
To make the card, cover the front of an A5 white card blank with the background/background panel using double-sided tape. Trim if necessary.
Carefully cut out the elements from the card kit sheet using a craft knife and ruler. Stick the picture, verse and Happy Easter greeting onto larger pieces of silver metallic card with double-sided tape, then trim round with a craft knife and ruler to leave a small border.
To make up the Easter basket, crease along the crease-lines where indicated with a fine embossing tool or similar. Make a 2cm slit with your craft knife and ruler approximately 1.5cm down from the top of the basket - this is to tuck your handle into.
Fold up the flaps and the basket, bringing the long strip over the top. Add strips of double-sided tape to the back flaps and handle (the bits that will be in contact with the card).
Arrange the picture, verse, greeting and 'basket' on the card. Stick the metallic card-mounted pieces with sticky pads and the basket into place with the double-sided tape you've already added to it.
I've used Jelly Belly jelly beans here as they're nice and small and you get speckled ones in the pack. Pick out the pastel colours and the speckled ones and fill a small grip-seal bag with them. Fit into the basket on the card, adjusting the quantity of jelly beans as necessary to make a good fit.
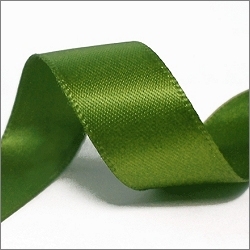
Add a ribbon bow using a strong tacky glue such as Aleene's.
Products used on the Easter Bunny & Jelly Bean 'Egg' card
 £1.00
£1.00 £1.00
£1.00
