
No products
Product successfully added to your shopping cart
There are 0 items in your cart. There is 1 item in your cart.
-
-

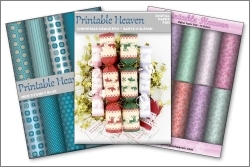
We also have download sets featuring up to 40 A4 sheets, with most sets having projects using the sheets.Download Sets
-


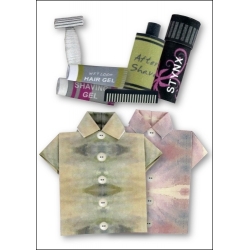
I just love the soft greens of this card.
For this one print:-
The green Origami Shirt Card Kit 2 sheet onto quality white paper (such as Print Perfect 90)
To make the card, cut out all the pieces from the card kit sheet with a sharp craft knife and ruler.
To make the origami shirt
Take the origami shirt piece which has pre-printed guide-lines on it. The triangular guide line arrangement should be at the top of the piece (hard to see here). Accurate cutting and folding is really important!

Fold the paper in half, with the pattern still visible, and then unfold it. Our ready-done shirts have small guide lines at each end - use a ruler to emboss along this line first before folding for a really accurate fold.

Turn the paper over and fold the two long edges in towards the centre crease so that they meet neatly in the middle.

Turn up the two bottom middle corners so that they meet the outer edge of the paper. This will form two diagonal creases.

Turn up the bottom of the paper and fold it over where the flaps from the previous step end.

Stick your fingers inside the folded up area. Grab hold of the tip of the corner piece on one side. Pull it out and to the side. Now repeat this for the corner piece on the other side.

Now tuck each corner back inside itself to form the sleeves.

Turn the paper over and emboss the straight crease line with an embossing tool or cocktail stick, then fold (embossing it first makes for a neater fold).

Turn the paper over again and emboss the two angled crease lines before folding them in to form the collar. Make sure that the tips of the collar meet.

Finally fold the bottom of the paper up and under the tips of the collar. Shirt folding is complete!
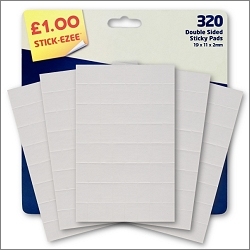
When you have completed the shirt, use strips of double sided tape on each side to seal it shut.
To make the after-shave bottle, roll up the main part with a cocktail stick. When you've finished rolling, let the roll out a little and stick the end in place with a dab of glue, glue stick or double-sided tape. Flatten the roll and sharply crease both sides so that it's 'eye' shaped when viewed from the end.
For the lid, tightly roll the narrow black strip around a cocktail stick, gluing the end as previously. Stick to the top of the 'bottle' with a blob of a strong tacky glue such as Aleene's.
To make the hair-gel tube, roll the strip around a cocktail stick as before, let out the roll a little and stick as for the deodorant can. With the wording facing you, flatten the top of the tube between your fingers. Ease tacky glue into the end of the tube with a cocktail stick, making sure you get glue between all the layers of paper. Hold flat between your fingers for a couple of minutes to allow the glue to dry.
For the comb, neatly cut out the shape with a craft knife and ruler, trimming the top corners with small scissors. We've included a comb on this sheet which you will have printed on paper, however if you want one to be printed on card, print the wording and combs sheet.
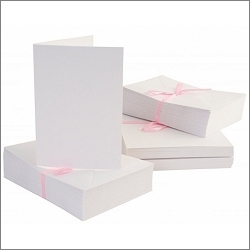
To assemble the card, add triangle-shaped background paper piece to a 15cm square ivory card blank with double-sided tape.
Stick the coloured rectangle and a greeting onto larger pieces of silver metallic card with double-sided tape before trimming round with a craft knife and ruler to leave a small border. Add these pieces to the card with further double-sided tape.
Add the completed origami shirt and comb with d-s tape.
Finally, add the hair gel and after-shave with a strong tacky glue such as Aleene's.
See all of our origami card projects on![]()
Products used on the Green Square Origami Shirt card
 £2.75
£2.75
