No products
Product successfully added to your shopping cart
There are 0 items in your cart. There is 1 item in your cart.
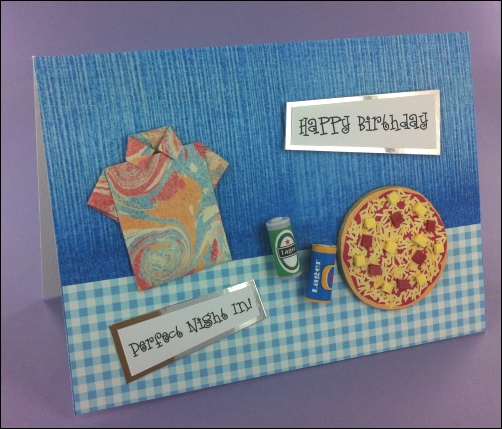
For this one print:-
The Swirls & Floral Origami Shirt sheet onto quality white paper
The Mini Beer & Drinks cans sheet onto quality white paper
The Mini Party food sheet onto quality white paper
The denim background onto quality white paper
The blue gingham background onto quality white paper
The Party Shirt wording sheet onto quality white card
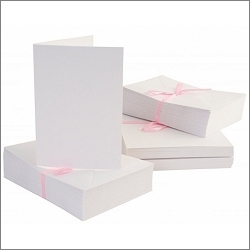
To make the card, cover the front of a white 7" x 5" card blank with the denim background paper, then add a 4.5cm piece of the blue gingham paper to the bottom with double-sided tape.
To make the origami shirt:-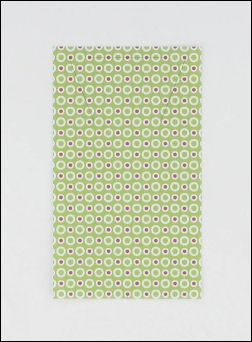
Start off with a piece of paper that is 13cm x 7.5cm or one of our ready-done origami shirt pieces which has pre-printed guide lines on it. If you're using the latter, the triangular guide line arrangement should be at the top of the piece (hard to see here).
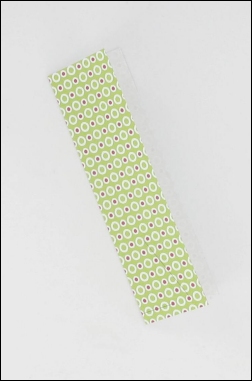
Fold the paper in half, with the pattern still visible, and then unfold it. Our ready-done shirts have small guide lines at each end - use a ruler to emboss along this line first before folding for a really accurate fold.
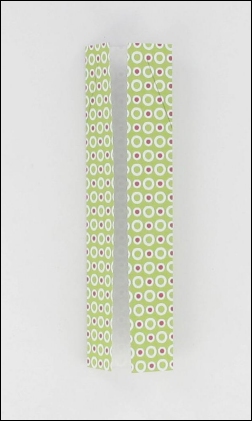
Turn the paper over and fold the two long edges in towards the centre crease so that they meet neatly in the middle.
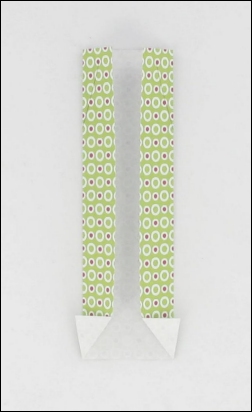
Turn up the two bottom middle corners so that they meet the outer edge of the paper. This will form two diagonal creases.
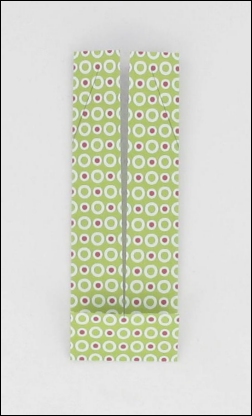
Turn up the bottom of the paper and fold it over where the flaps from the previous step end.
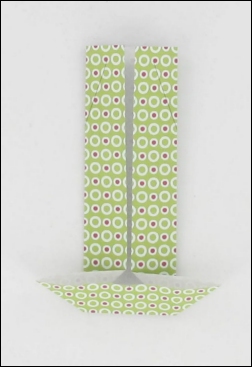
Stick your fingers inside the folded up area. Grab hold of the tip of the corner piece on one side. Pull it out and to the side. Now repeat this for the corner piece on the other side.
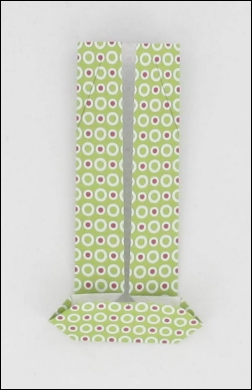
Now tuck each corner back inside itself to form the sleeves.
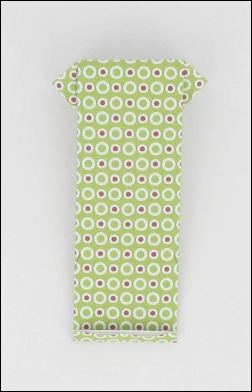
Turn the paper over and emboss the straight crease line with an embossing tool or cocktail stick, then fold (embossing it first makes for a neater fold).
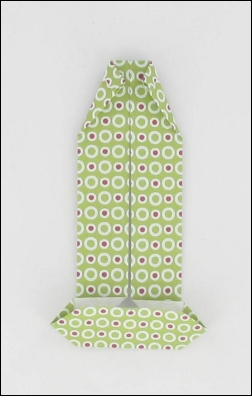
Turn the paper over again and emboss the two angled crease lines before folding them in to form the collar. Make sure that the tips of the collar meet.
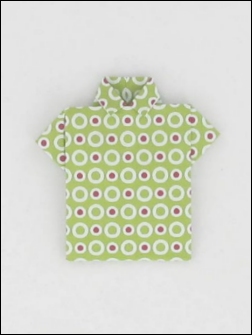
Finally fold the bottom of the paper up and under the tips of the collar. Shirt folding is complete!
When you have completed the shirt, use strips of double sided tape on each side to seal it shut.
To make the beer or soft drink cans:-
Cut out your chosen can with a craft knife and ruler. Add wide double-sided tape to the printed end of the strip and remove the backing.
Using a cocktail stick, start rolling the paper strip from the non-printed end so that the design is on the outside of the roll. Once you've got it going, take out the cocktail stick and continue to roll whilst keeping the roll even.
When you get towards the end of the strip, let out the roll a little until the 'can' is the size that you want, then finish rolling so that the tape seals it shut.
For the pizza:-
Roughly cut out a large pizza shape from the sheet and stick it to a piece of tan fun foam with double-sided tape. Once stuck, cut out the pizza/fun foam with small scissors. You can use a punch if you have one to fit but it's not essential as a lovely home-made pizza wouldn't be a perfect circle anyway!
The pineapple topping is made from fun foam whilst the 'ham' is made from one of those red elastic bands that the postman drops!
Add double-sided tape to the back of both the ivory/lemon fun foam and elastic band. The 'pineapple' is cut with small scissors into little squares, as is the 'ham'. Use your imagination for things to cut up and make into toppings - yellow sponge (such as that from a kitchen scourer/sponge) can also be cut into tiny pieces to make 'pineapple', flat-backed black beads can be used for olives.
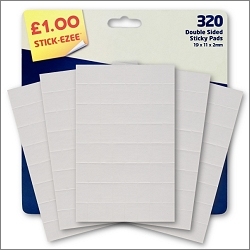
To make up the card, add the origami shirt and pizza with double-sided tape. Add the beer cans with a strong tacky glue such as Aleene's. Finally, add silver metallic card-mounted greetings with sticky pads.
See all of our origami card projects on![]()
