
No products
Product successfully added to your shopping cart
There are 0 items in your cart. There is 1 item in your cart.
-
-

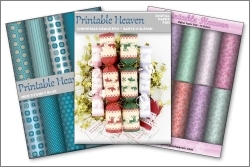
We also have download sets featuring up to 40 A4 sheets, with most sets having projects using the sheets.Download Sets
-


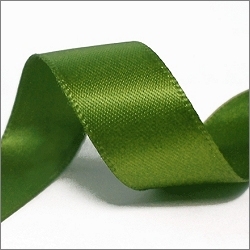

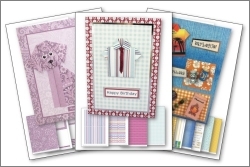


The ribbon on this card was cut from the shoulders of a top - waste not, want not!
For this one print:-
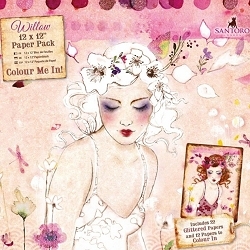
The Fairy Queen motif sheet onto quality white card
The Fairy Queen background onto quality white paper or light card
Both of these items are available from either the Warwick Goble Fairy & Fantasty set or the Warwick Goble Card-making DVD.
To make the card:-
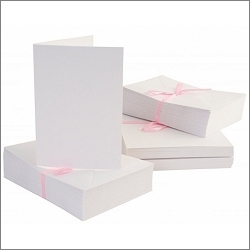
Cover the front of an ivory 7" x 5" card blank with the background paper using double-sided tape. Cut a further 12mm x 12.5cm strip of the background for the border strip.
I've used one of the A6 motifs here to show off more of the pretty backing paper - mount this, the border strip and a greeting onto silver metallic card and trim round to leave a small border. I've cut a tag shape in the left-hand end of the greeting here, with my craft knife and ruler.
Fold a length of ribbon around the border strip, fixing the ends into place at the back with double-sided tape. This ribbon is a dull purple colour, cut from the shoulder-loops of a top.
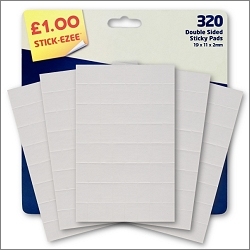
Position your items onto the card and when you're happy with the arrangement, stick them into place - with sticky pads for the motif, double-side tape for the border and a sticky pad/double-sided tape combination for the greeting.
Finally, add a ribbon bow made from the same ribbon - stick it into place with a strong tacky glue such as Aleene's.
Products used on the Warwick Goble Fairy Queen card
 £10.99
 £2.75
£2.75
