No products
Product successfully added to your shopping cart
There are 0 items in your cart. There is 1 item in your cart.
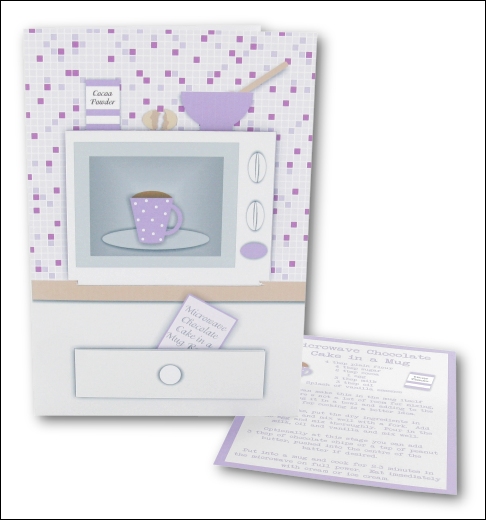
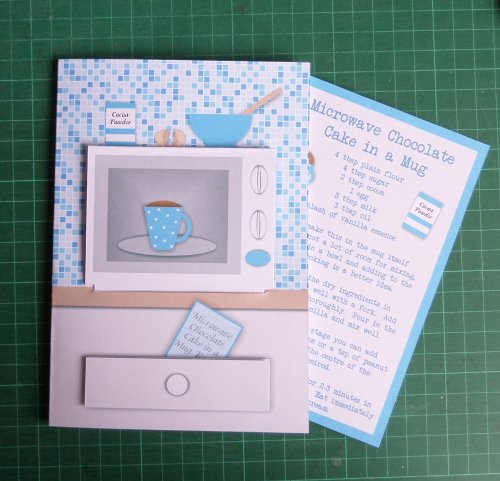
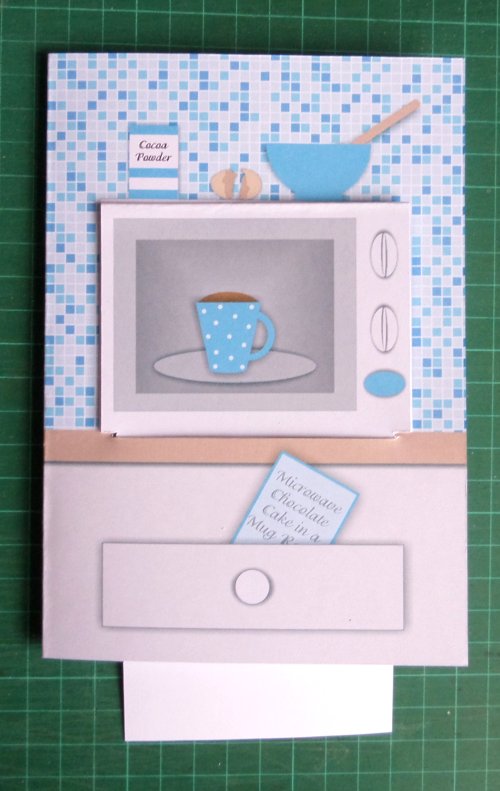
Your friends will be totally amazed at your cleverness when you give them this wonderful chocolate cake in a mug microwave card!
Not only will they be thoroughly amused to watch the chocolate cake 'cook' in front of them when they open the microwave flap, they will be stunned to find that they can follow the recipe and bake themselves a great-tasting chocolate cake in the microwave in minutes!
To make this one print:-
All 3 sheets from the card kit onto sturdy 300gsm white card (Print Perfect 300 is perfect for this)
To make the card:-
1/ Cut out one set of pieces from the three sheets.
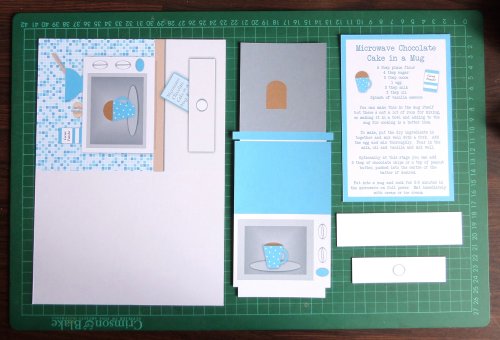
2/ Use an embossing tool to crease the fold of the card - do not fold yet though.
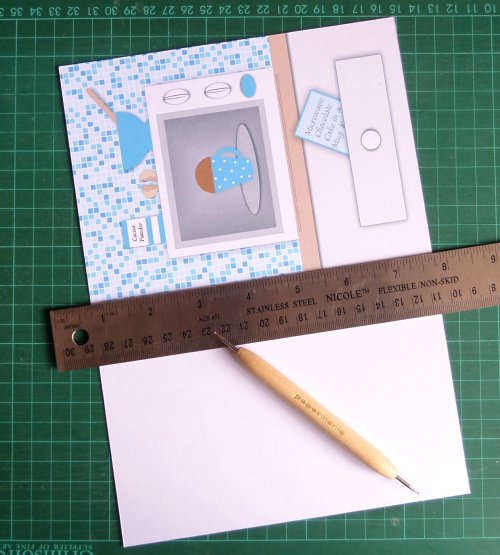
3/ Using a craft knife, carefully cut out the slot under the microwave and the cake. Use a ruler to do the slot and the bottom of the cake where it meets the mug, the curve of the cake will have to be done freehand (tip:- hold the knife firmly and move the card rather than the knife to cut this).
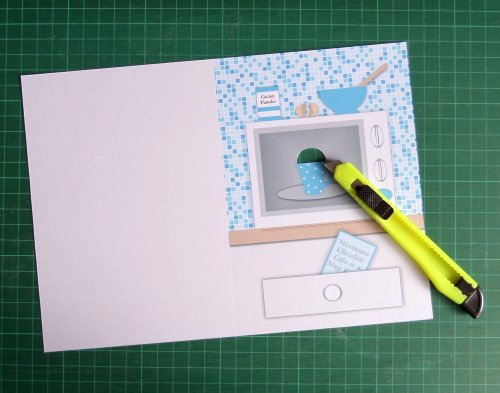
4/ Use an embossing tool to crease the microwave mechanism where shown.
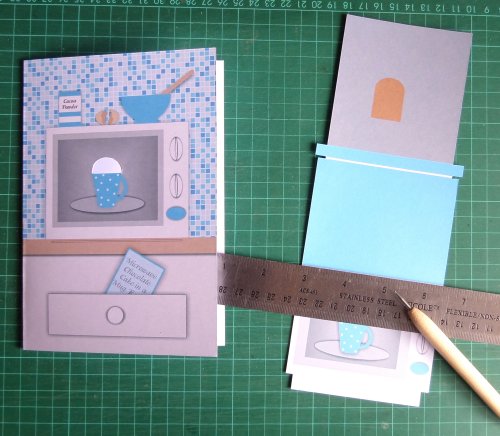
5/ Turn the piece round and emboss a crease along the top line of the grey area underneath the cake.
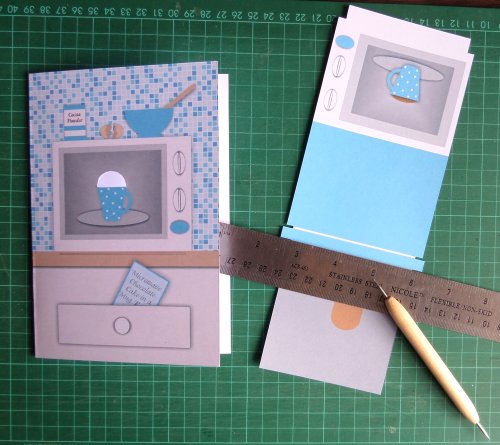
6/ Add strips of double-sided tape to the back of the microwave.
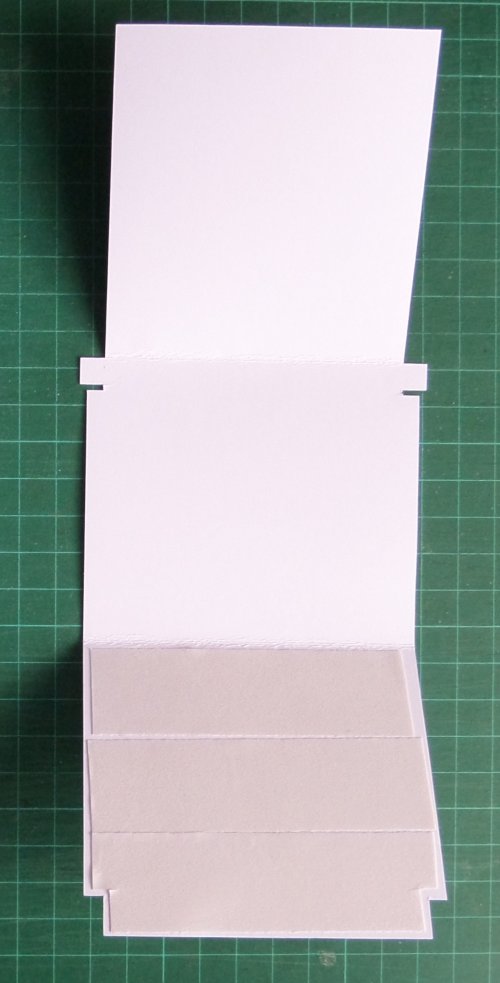
7/ Remove the tape backing and stick down - trim the bottom corners of the microwave part with a craft knife if necessary.
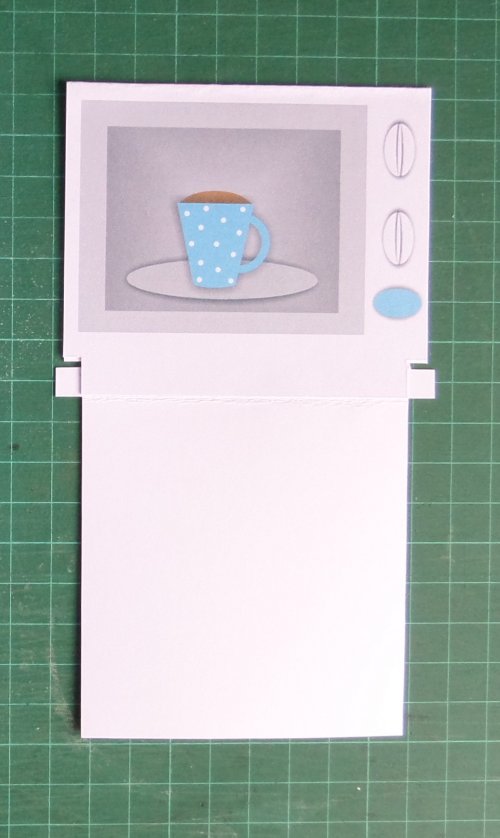
8/ Fold the piece over as shown and crease the bottom very well.
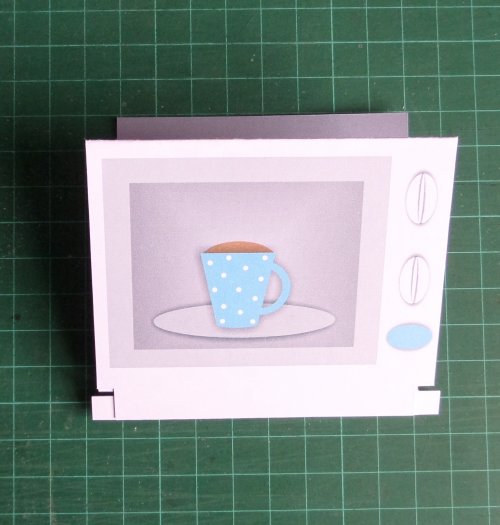
9/ Turn the microwave piece over and fold in the flaps - this is a temporary fold as you will be unfolding them again once the mechanism's in place.
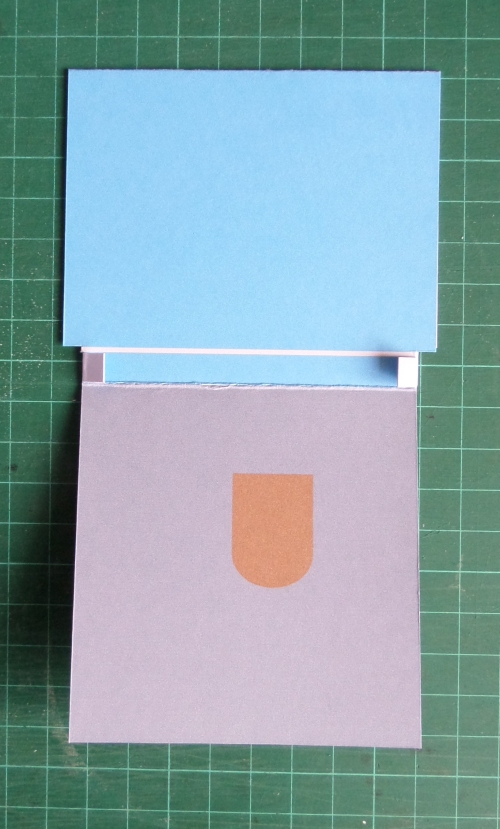
10/ Poke the mechanism through the slot in the card blank, taking care to squeeze through the folded-over flaps.
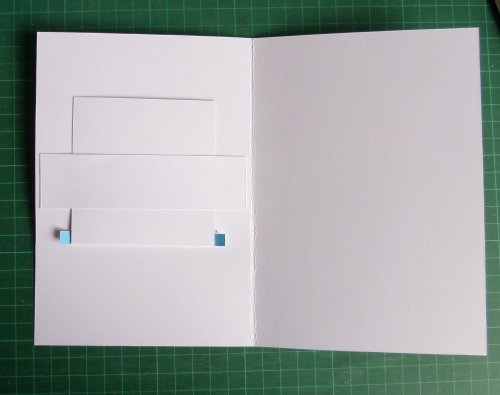
11/ Once you've pushed the mechanism through, open out the flaps - these keep the mechanism in place in the card.
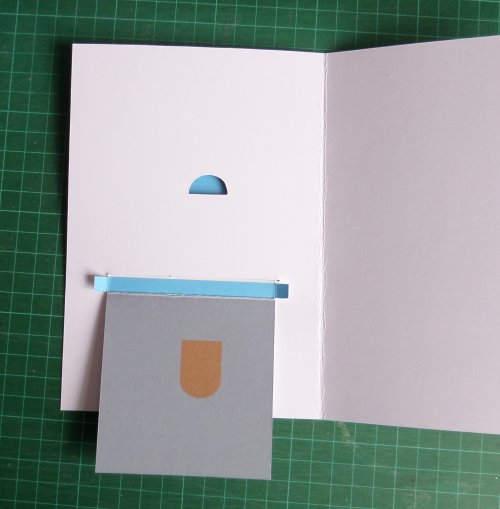
12/ Fix the mechanism into place inside the card using the strip from the recipe card sheet. Add a strip of 12mm double-sided tape to each end, then stick it into place. Make sure that it sits around 1cm or more above the line of the flaps or your mechanism won't have room to operate.
Make sure the mechanism operates properly now, especially that the cake rises up within the hole that you've cut out. You can push the mechanism either way slightly if the cake isn't rising in quite the right place or even cut the slot slightly more on one side if need be.
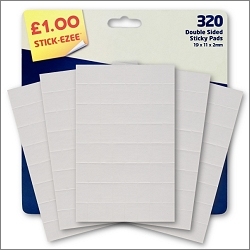
13/ Add a little more dimension by layering the additional drawer front onto the card with sticky pads, the little knob can also be added if your cutting's great (or use an appropriately sized punch to cut it out).
Tuck the recipe card inside the card.
