No products
Product successfully added to your shopping cart
There are 0 items in your cart. There is 1 item in your cart.
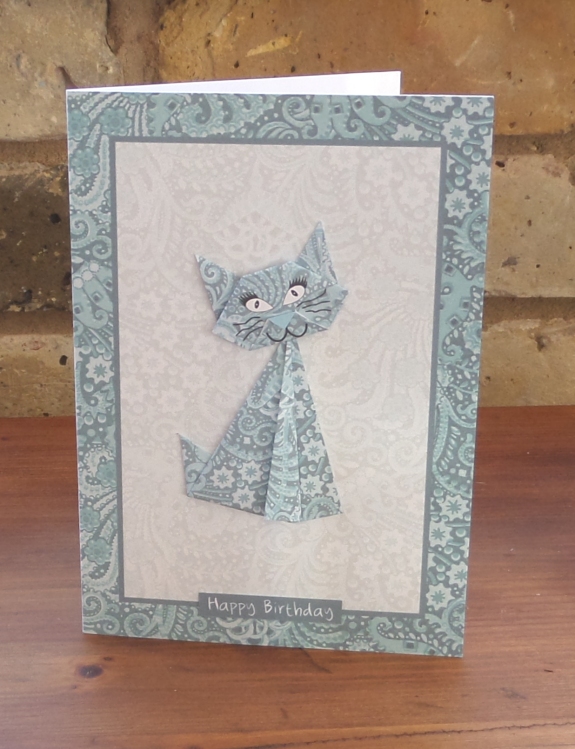
These origami cats are just so simple to make! Follow our simple stage-instructions below to get making.
For this one print:-
The Origami Cat sitting small sheet onto white paper
The A6 card blank onto thick (280-300gsm) white card (if you prefer, print out the sheet onto lighter card/paper and cut out just the front panel, then stick it to a heavy weight A6 white card blank)
To make the cat body:-
Start with the body rectangle like this. I've made up the printables with plain paper here so that you can see the lines and folds more easily.
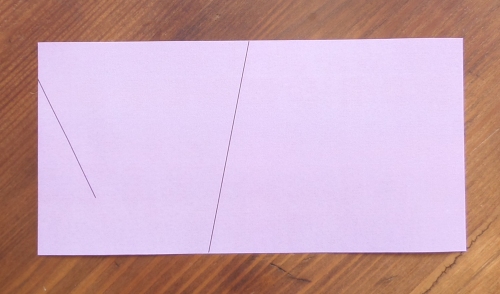
Carefully fold the paper to make a square.
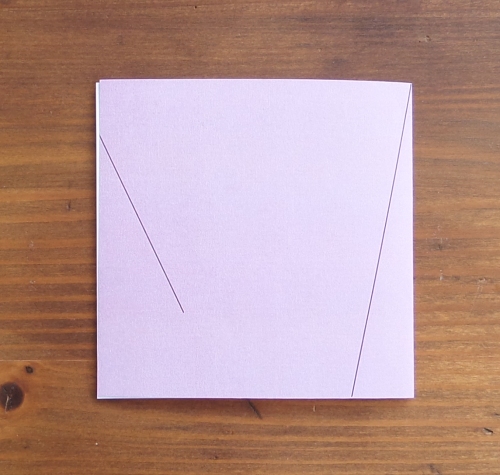
Now turn the paper over so that the fold is at the TOP of the piece and the printing is face-down.
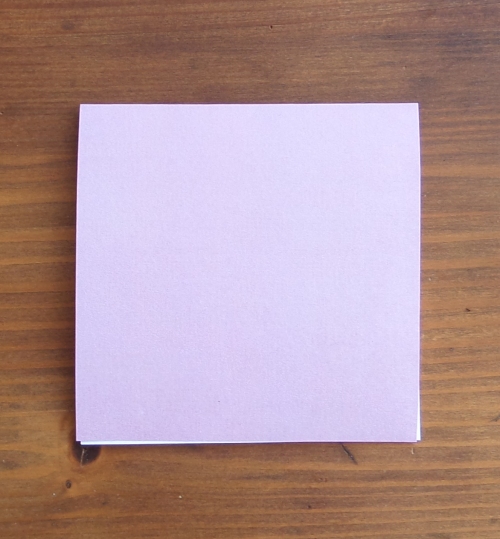
Now take the top left-hand corner and bring it down to meet the bottom right-hand corner, creasing it sharply.
Your paper should now look like this.
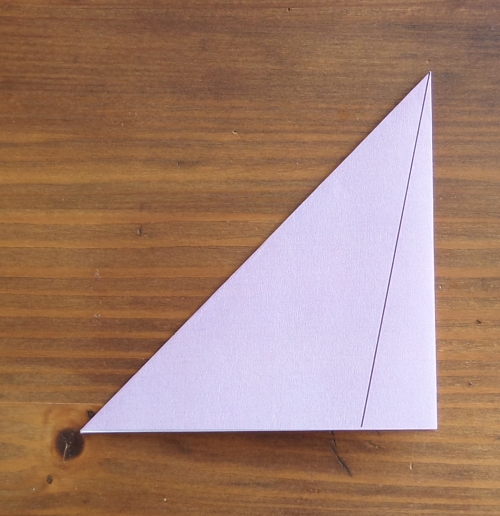
Take a ruler and crease the printed line with an embossing tool or similar.
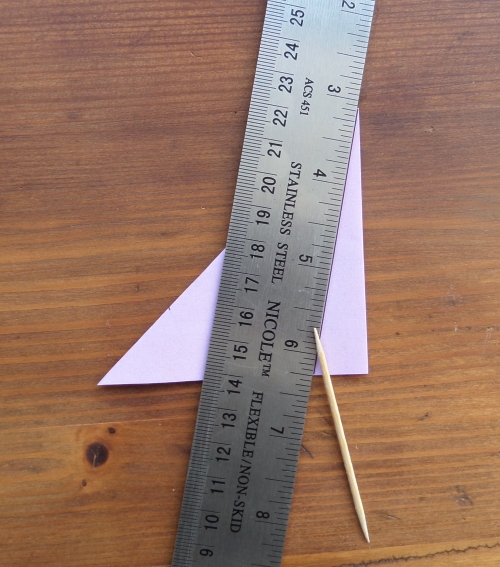
Fold back at the embossed line and carefully crease sharply.
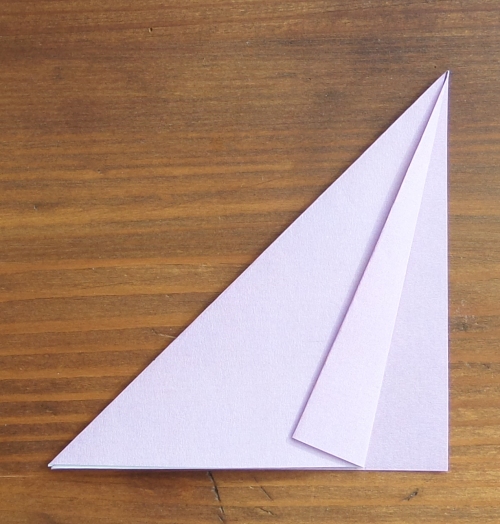
Now flip the piece over and emboss the line that's now on the back, then sharply crease.
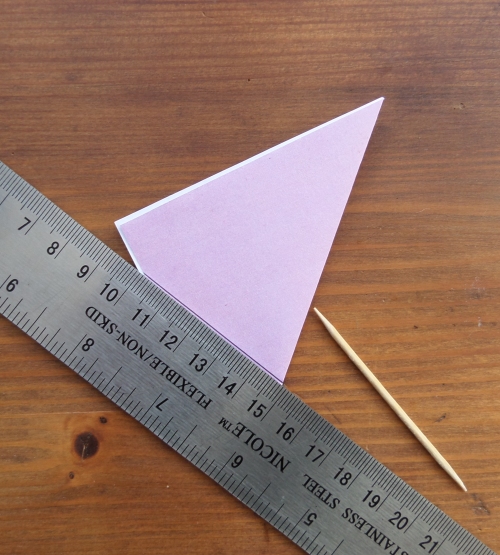
When flipped back over, your paper should look like this.....
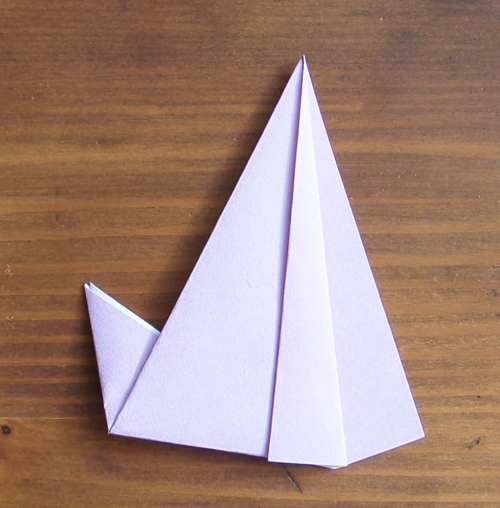
You will probably have some white paper showing at the top of the tail - carefully trim this off whilst still folded using a sharp craft knife and ruler.
Use little bits of double-sided tape to stick the tail and front leg to make it all a bit flatter.
For the cat head:-
Cut out a large head-piece with a sharp craft knife and ruler.
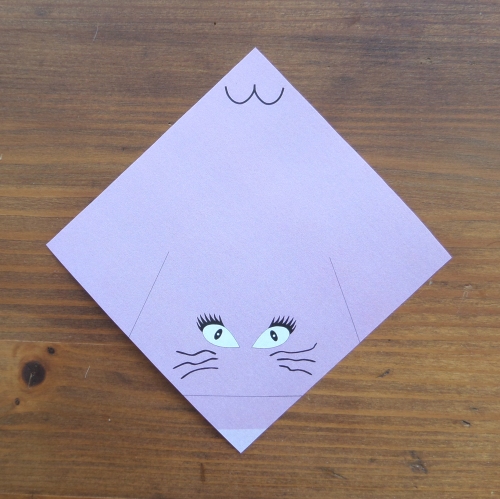
Now carefully fold the paper so that it looks like this.

Then fold the points from both sides back, so that they meet the bottom point.
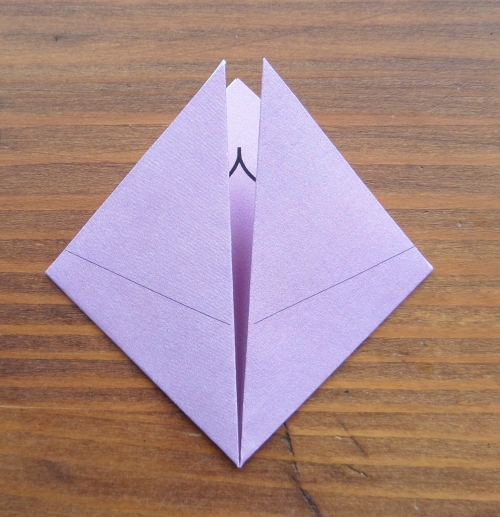
When you flip the piece over, it will look like this.
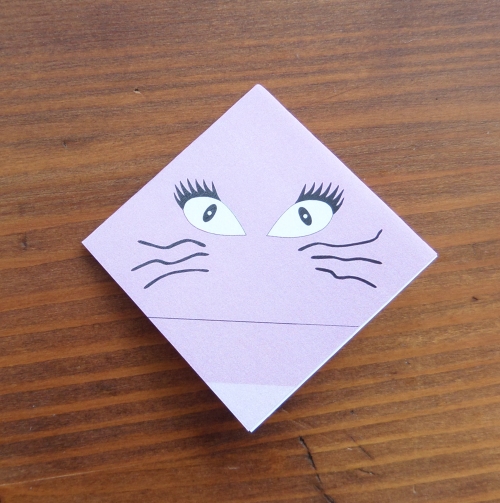
Now unfold and emboss the printed lines with an embossing tool or similar. Do this to the two lines either side, the one under the mouth and also to the triangular bottom point (nose).
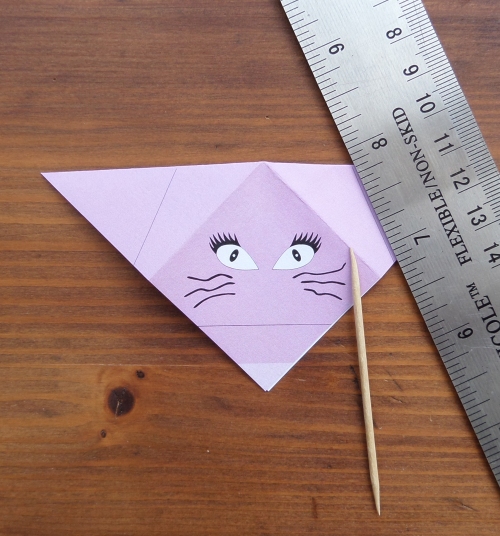
Sharply fold both ears towards you.
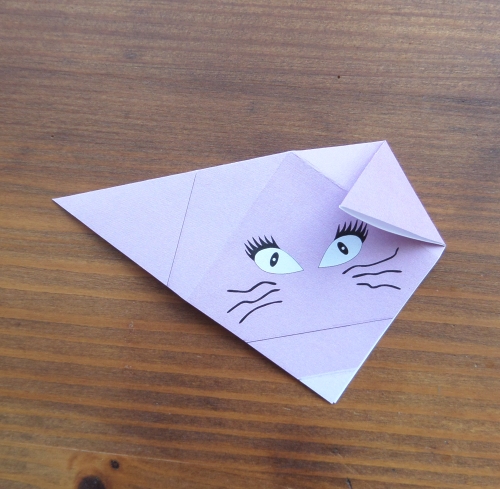
Fold up the mouth, and use the existing folds to make the ears look like this.
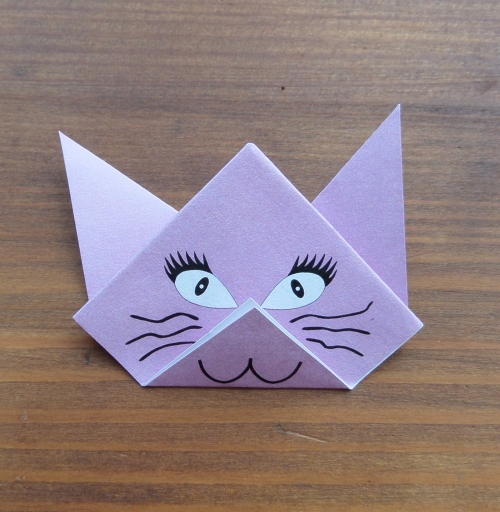
Fold the nose-part over but tuck the bottom half of the nose in so that only the top nose part is visible on the finished piece.
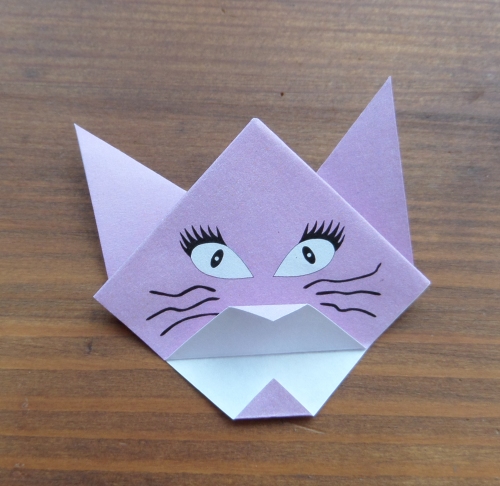
Fold back into place.
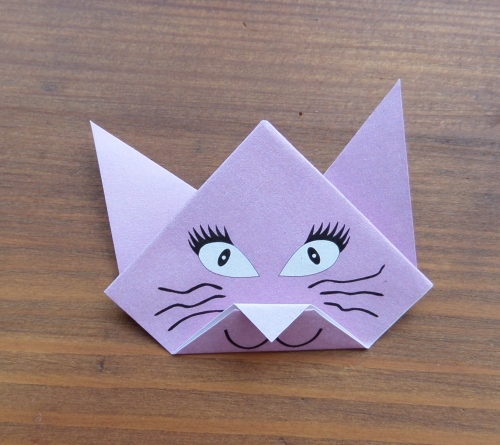
Finally, fold over the peak on the cat head so that it meets on the back.
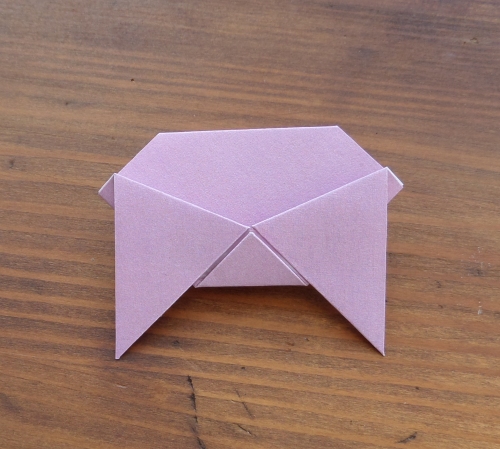
Your cat head should now look something like this......
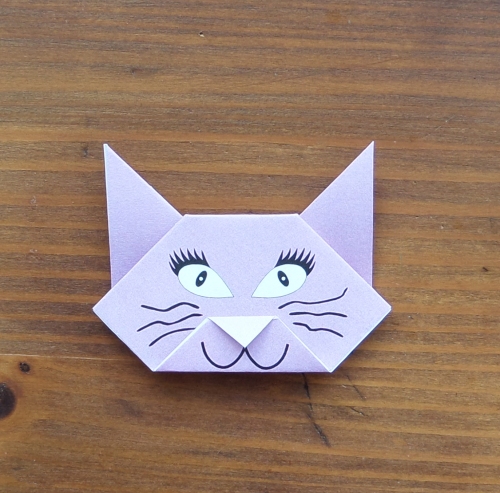
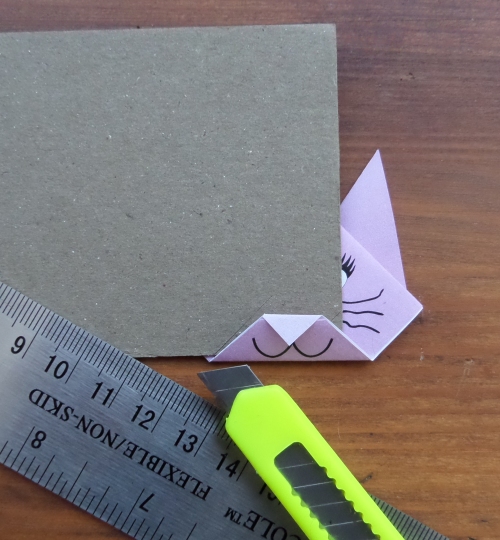
Trim off any unwanted white paper whilst the piece is still folded with a very sharp craft knife and ruler. Use thick (grey) card from packaging inbetween layers of paper whilst you are trimming to protect the rest of the piece. Use pieces of double-sided tape to stick the ears and mouth part so they sit flat.
To make the card:-
Crease, then cut out the A6 printed card blank and fold. If you prefer, you can print the sheet onto a lighter card/paper, then cut out just the printed panel and stick it to a heavy-weight A6 card blank.
Stick both origami cat body and head to the card with double-sided tape.
Add a greeting if required.

