No products
Product successfully added to your shopping cart
There are 0 items in your cart. There is 1 item in your cart.
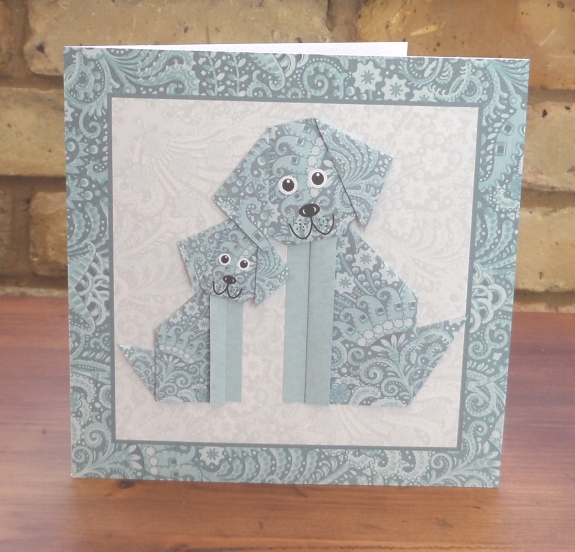
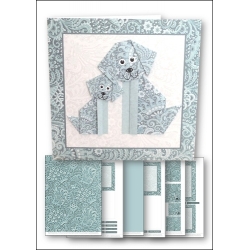
These origami dogs are incredibly easy to make, even easier than the cats! Print both sides of your paper to make the dogs.
For this one print:-
The teal dog sheet onto white paper, then flip it over and print
The plain teal sheet onto the other side
The square/A6 card panel sheet onto light white card
To make the dog bodies:-
Cut out both a large and a small dog body and head from the sheet with a craft knife and ruler - make sure you pick the small dog that faces the opposite way to the large one.
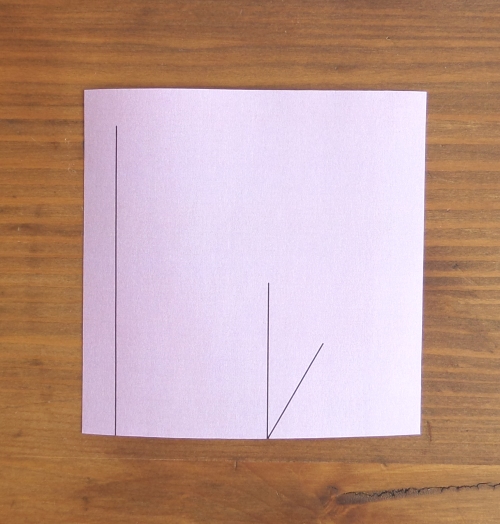
The body piece looks like this.
Fold the piece diagonally so it looks like this.
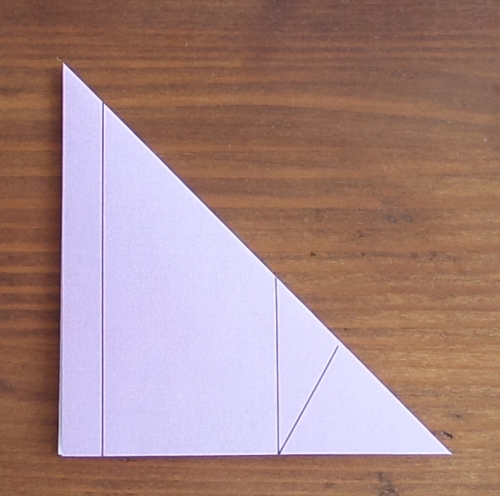
Now emboss the long printed line with an embossing tool or similar.
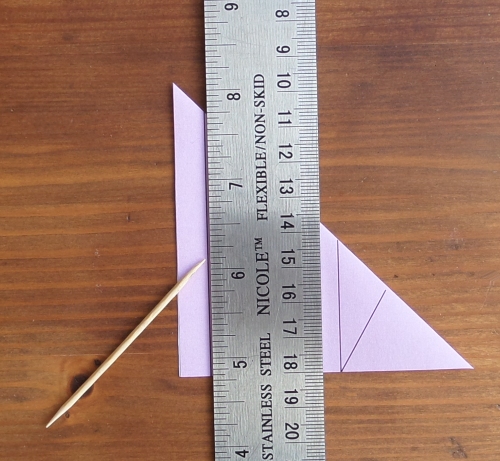
Fold back the front piece of paper to make 'legs' and fold over the top as shown. Whatever colour you have printed on the back of your paper will now be revealed.
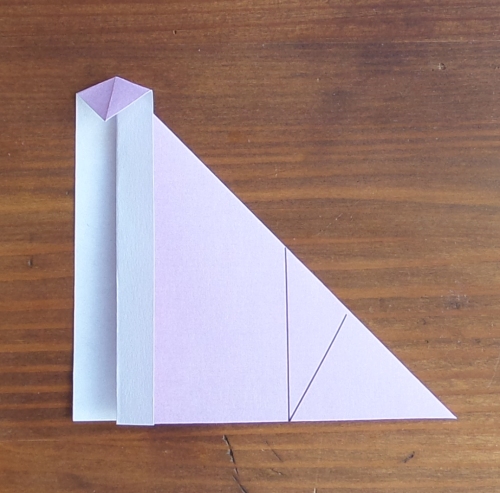
Now crease the other two printed lines with your ruler and embossing tool. Emboss slightly to the left of the central printed line so that this doesn't show on your finished dog.
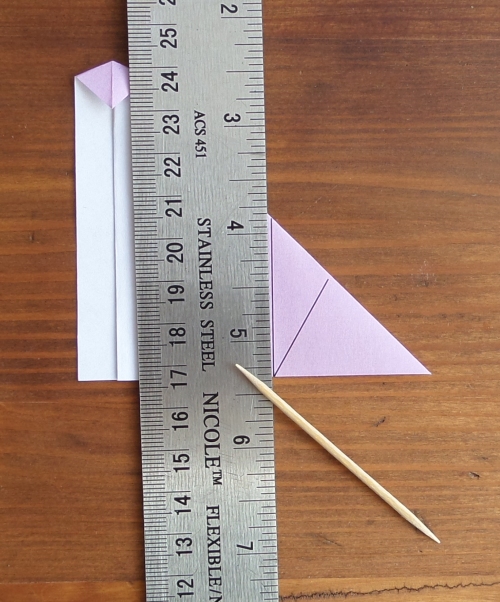
Fold the piece backwards (mountain fold) at the central line.
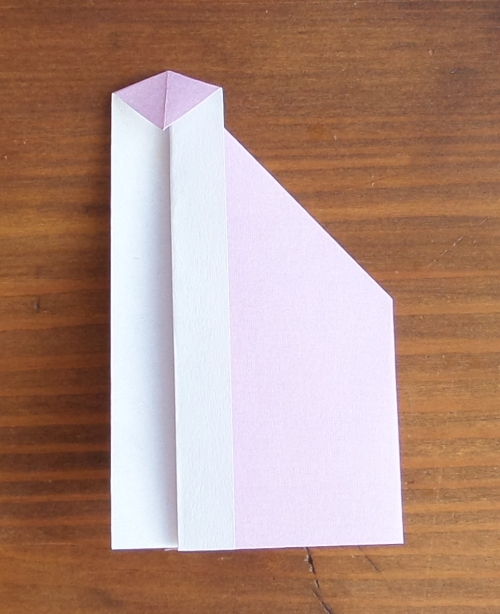
Fold the piece on the other line (valley fold) to bring the tail forwards to look like this.
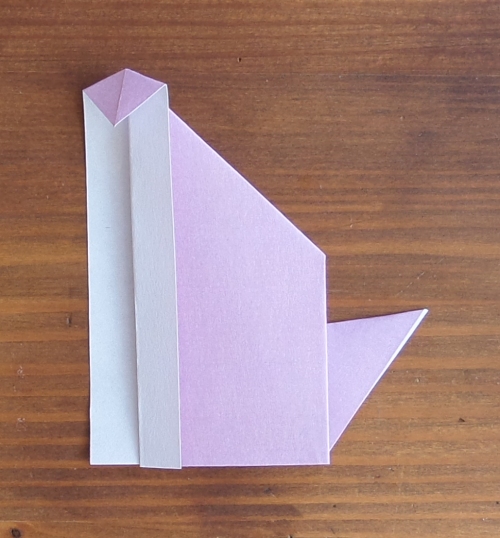
To make the dog head:-
Lay out the dog head piece.
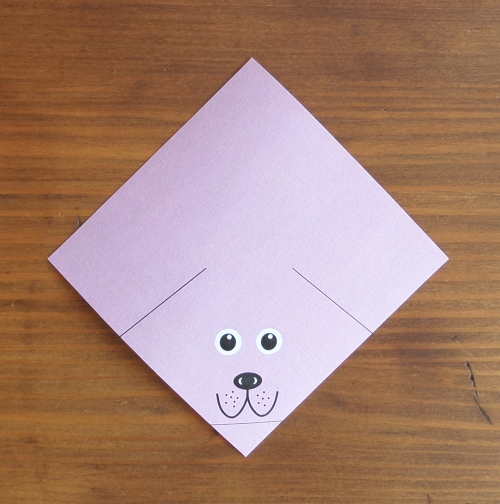
Now fold the piece diagonally so that it looks like this.
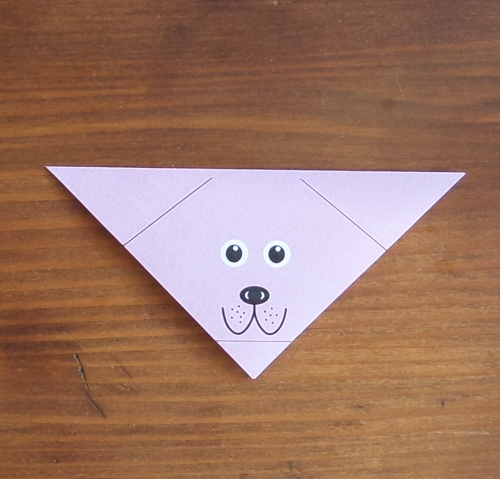
Emboss the three printed lines (for the ears and chin) with a ruler and embossing tool or similar.
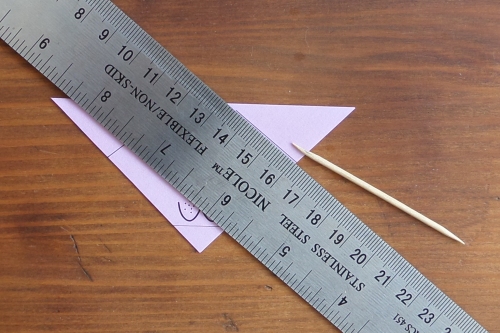
Fold both ears forward and fold the chin piece back.
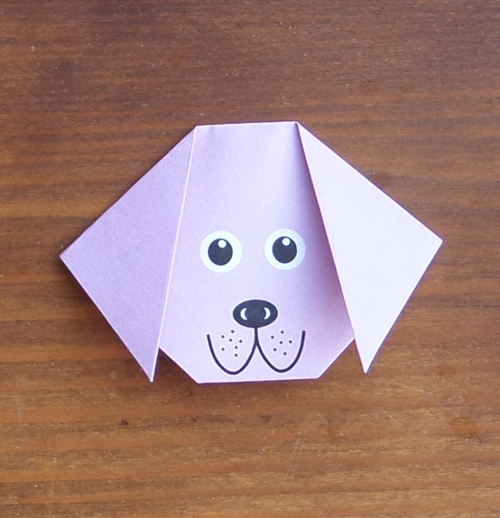
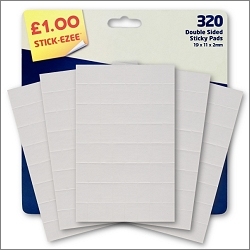
Use double-sided tape under the ears and at the back under the chin piece to keep the dog head flat.
To make the card:-
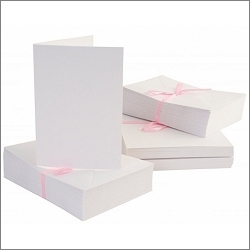
Crease and cut out the square card panel. Stick this onto a heavyweight card blank with double-sided tape, trimming the edges with a sharp craft knife and ruler if necessary.
Stick the dog bodies onto the card with double-sided tape, then add the heads.
Add a greeting if required.

