No products
Product successfully added to your shopping cart
There are 0 items in your cart. There is 1 item in your cart.
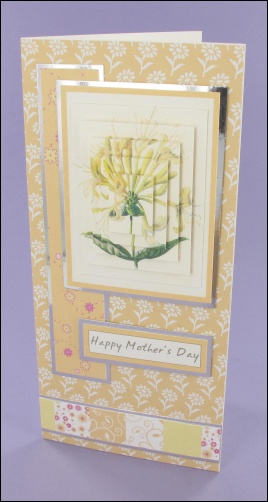
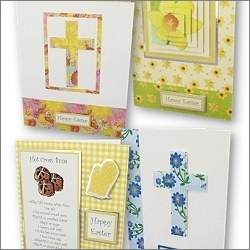
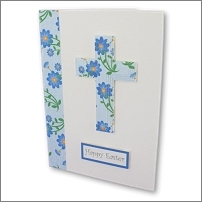
I just loved mixing up the floral papers here to make this pretty floral delight of a pyramage card!
For this one print:-
The honeysuckle (small) pyramage onto quality white card.
The honeysuckle (large) pyramage (or other large pyramage) onto white card (for the greeting).
The yellow daisy background onto quality white paper or card.
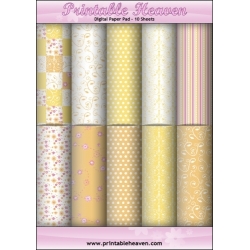
The yellow flower trail image (from the Sunshine Yellows Digital paper pad) onto quality white card.
The yellow patchwork image (from the Sunshine Yellows Digital paper pad) onto quality white card.
Cut out the pyramage pieces with a craft knife and ruler and make up the pyramage stack with sticky pads. Mount the whole stack onto a larger piece of silver metallic card with double-sided tape and trim around to leave a small border.
Completely cover the front of a white DL card blank with the daisy backing paper using double-sided tape.
Cut out a 15 x 2.5cm piece of the flower trail paper/card and a 2cm strip of the patchwork paper/card to fit the width of the card blank. Also cut out a large greeting of your choice.
Mount the pieces onto larger pieces of silver metallic and trim round as before to leave a small border (the patchwork piece has a silver border top/bottom only).
Using d-s tape, stick the flower trail piece to the card so that it's 1cm from the top and 8mm from the side of the card. Stick the patchwork piece so that it's 6mm from the bottom of the card.
To stick the pyramage and greeting, add a couple of layers of scrap card to back with double-sided tape - to the side that will be to the right of the finished card. This ensures that the pieces will stick down evenly.
Finally, stick the pieces down with more double-sided tape.
