No products
Product successfully added to your shopping cart
There are 0 items in your cart. There is 1 item in your cart.
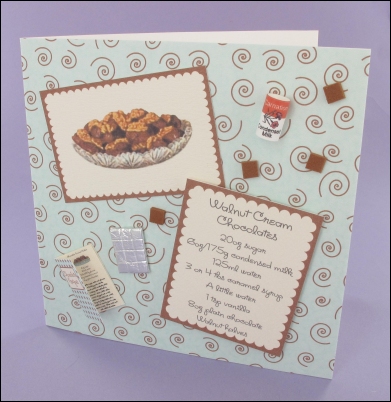
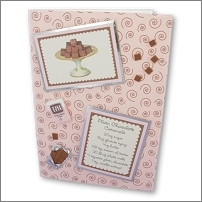
Cute card that uses the motifs without the coloured border.
For this one print:-
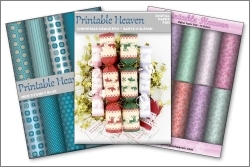
The Walnut Cream Chocolates motifs onto quality white card
The aqua swirls background onto quality white paper
The Chocolate Heaven recipe books onto quality white paper
The Chocolate Heaven extras sheet onto quality white paper
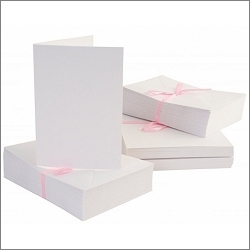
To make the card, cover the front of a 15cm square white card blank with the aqua backing paper using double-sided tape.
Using a craft knife and ruler, cut out the Walnut creams picture and mini recipe without the coloured border. Position the pieces on the card and when you're happy with the arrangement, stick the picture to the card blank with double-sided tape and add the mini recipe with sticky pads.
Again using a craft knife and ruler, cut out a mini recipe book cover, 3-4 pages and one of the condensed milk strips.
To make the recipe book, add strips of narrow double-sided tape to the left hand side of each page and add further pages - don't put tape on the final page as the book won't open properly then.
To make the condensed milk, roll up the strip of paper around a cocktail stick. Keep rolling until it's done - add 2cm or so of double-sided tape at the end to keep it together (no need for tape at the start of the roll). Stick it to the card with a strong tacky glue such as Aleene's.
To make the chocolate bar, wrap a 2 x 1.5cm piece of fun foam in kitchen foil, sealing with double-sided tape. Use a normal non-serrated table knife to emboss the squares in the foil.
Add all the items except the condensed milk to the card with double-sided tape.
Finally, add double-sided tape to some caramel fun-foam before cutting out tiny squares with scissors. Add to the card where required.
See all of our recipe card projects on![]()
