New In
-
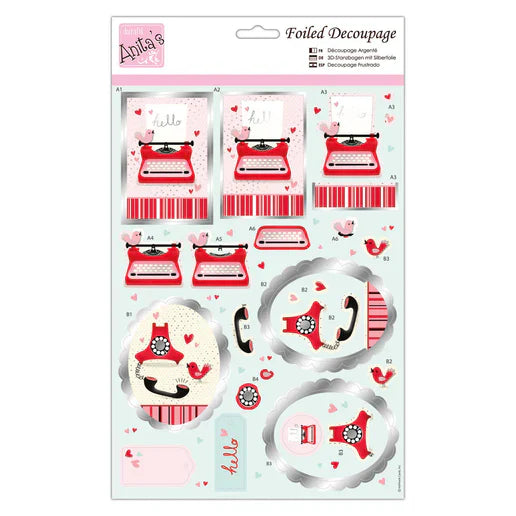
Foiled Decoupage - You're My Type (ANT 169835)
Regular price £1.00Regular priceUnit price per£1.50Sale price £1.00Sale -
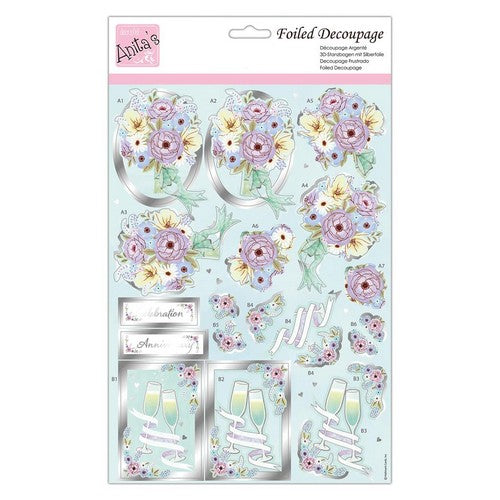
Foiled Decoupage - Wedded Bliss (ANT 169917)
Regular price £1.00Regular priceUnit price per£1.50Sale price £1.00Sale -
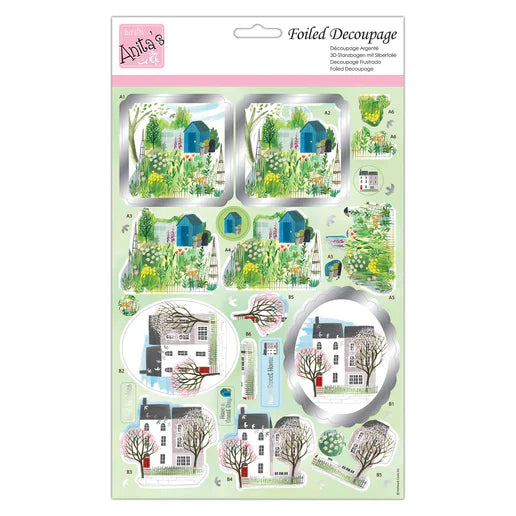
Foiled Decoupage - The Townhouse (ANT 169958)
Regular price £1.00Regular priceUnit price per£1.50Sale price £1.00Sale -
Foiled Decoupage - The Explorer (ANT 169954)
Regular price £1.00Regular priceUnit price per£1.50Sale price £1.00Sale -
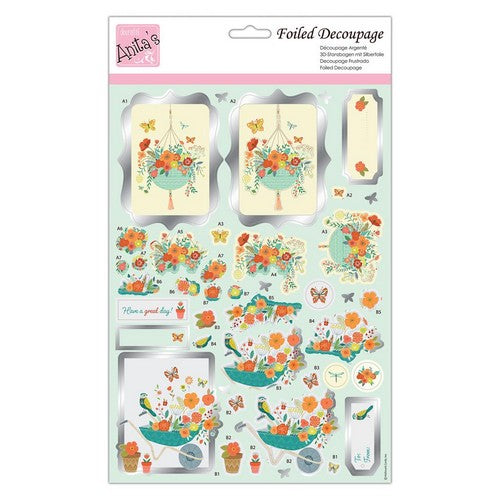
Foiled Decoupage - Spring Has Sprung (ANT 169945)
Regular price £1.00Regular priceUnit price per£1.50Sale price £1.00Sale -
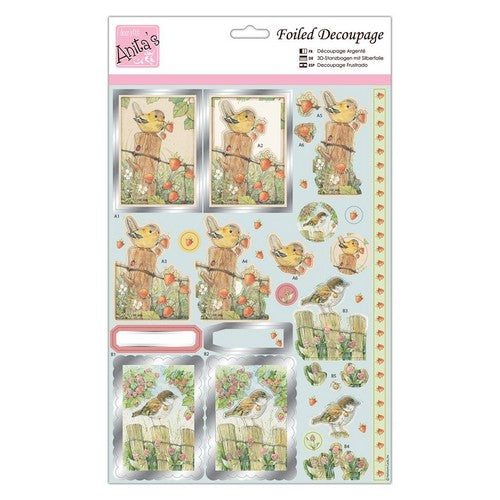
Foiled Decoupage - Spring Birds (ANT 169785)
Regular price £1.00Regular priceUnit price per£1.50Sale price £1.00Sale

Shop our top categories
-

Bestsellers
A (mostly) revolving selection of our bestselling products! Make sure to keep...
-

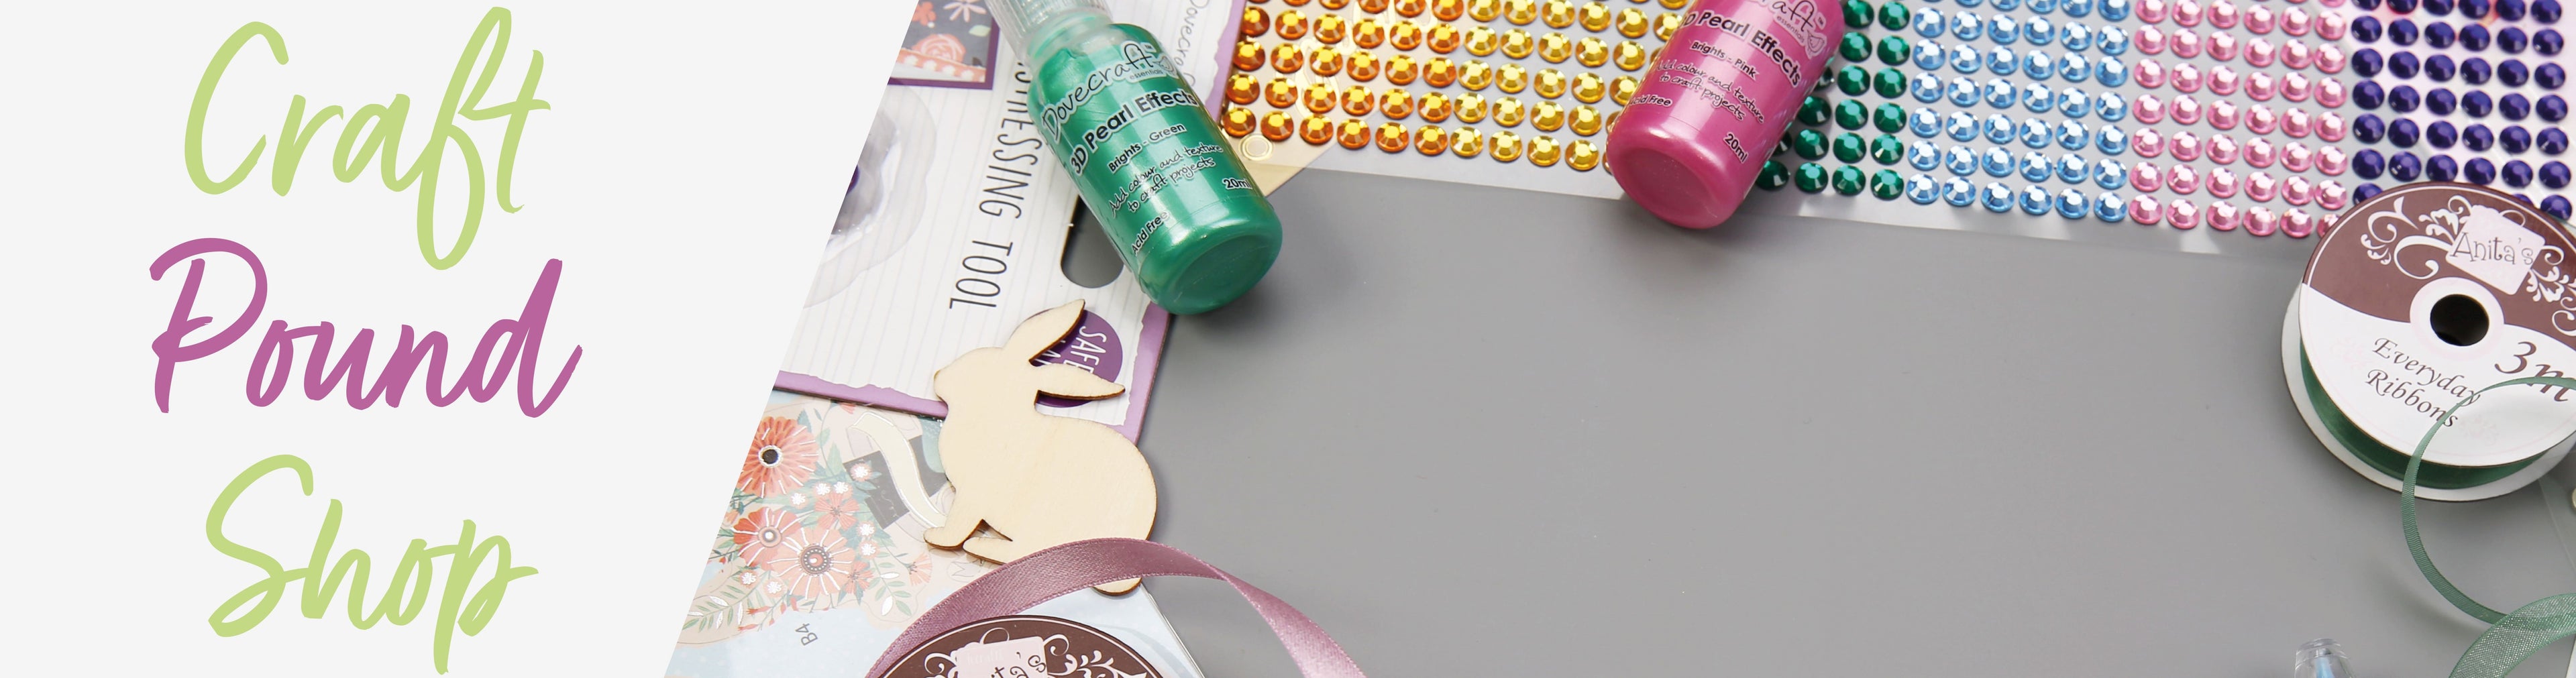
Craft Pound Shop
Crafting shouldn't break the bank. This collection of quality crafting products is...
-

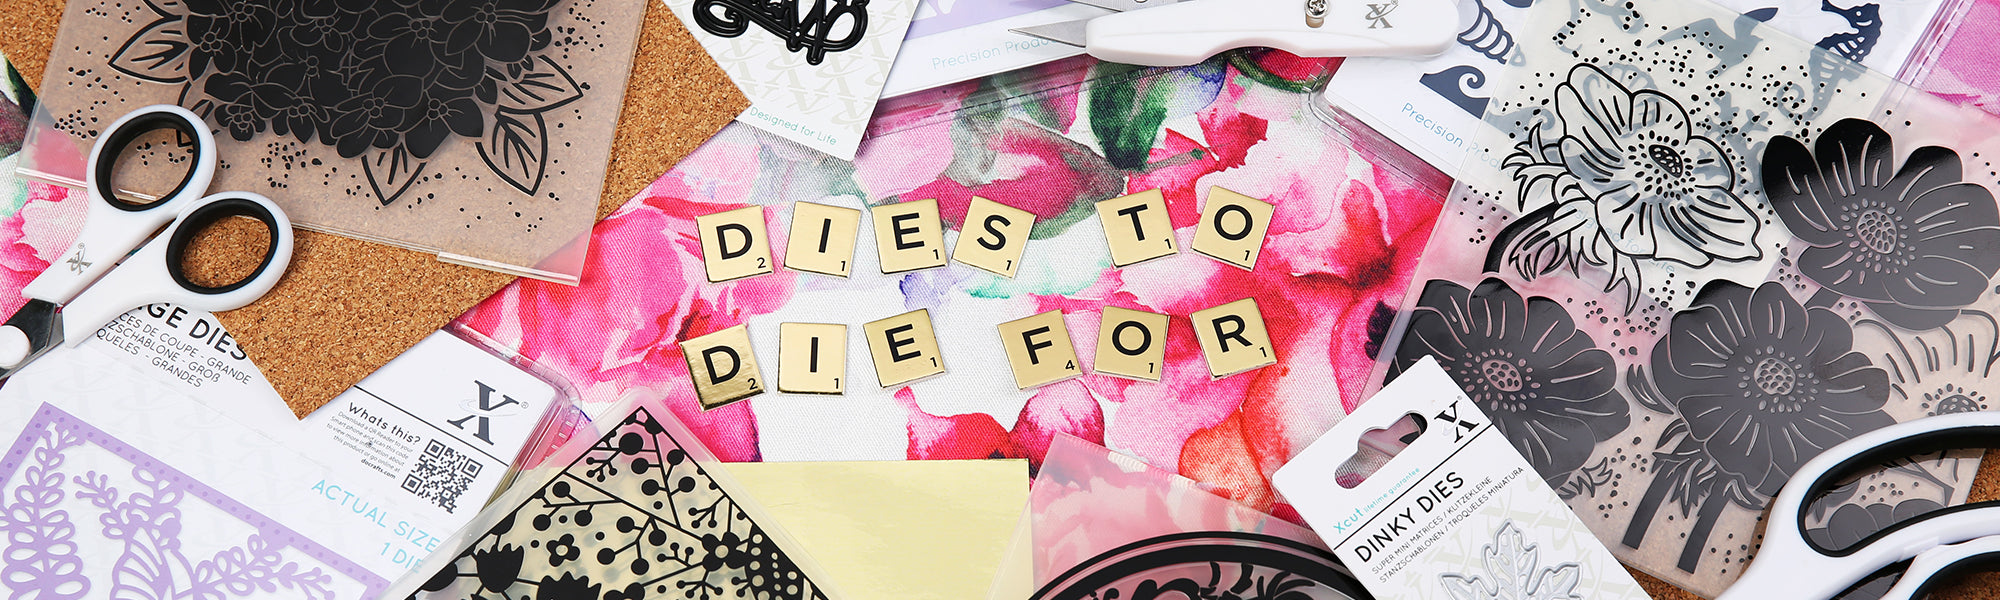
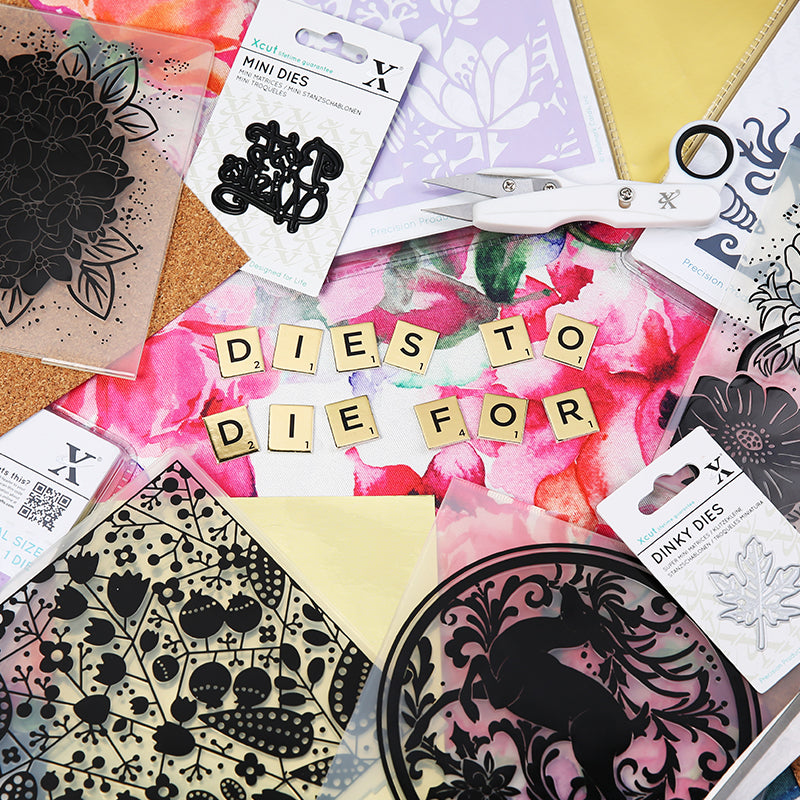
Cutting Dies
Metal cutting dies are a game-changer in the world of crafting. These precision-cutting...
-

Paper & Cardstock
A vast array of cards and envelopes, fit for any occasion. Also...


